
Description
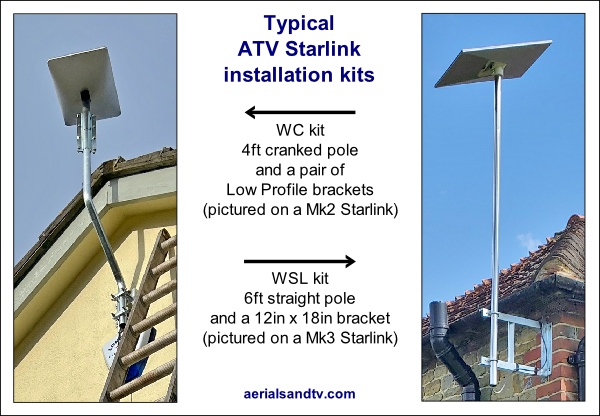
Typical ATV Starlink wall installation kits in situ.
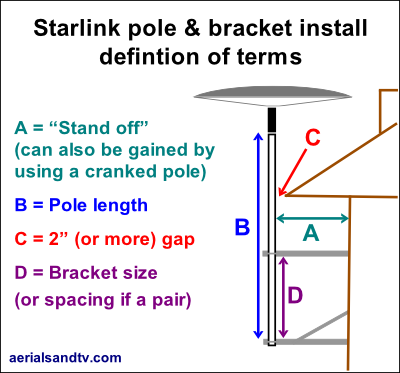
Ideally one should aim for minimum movement of the Starlink dish.
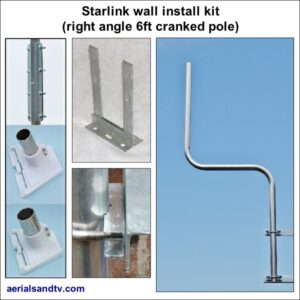
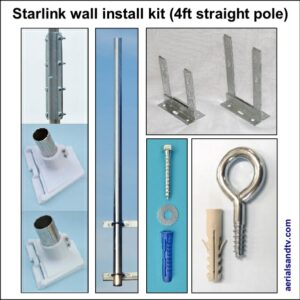
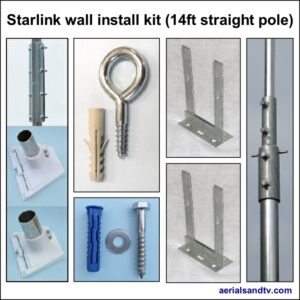
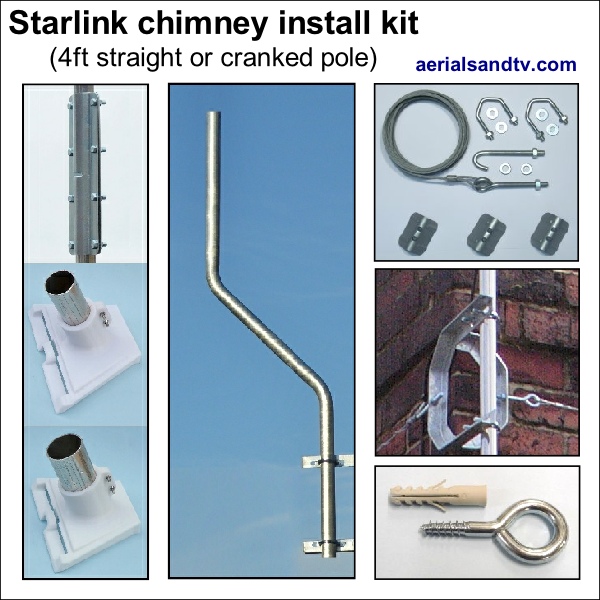
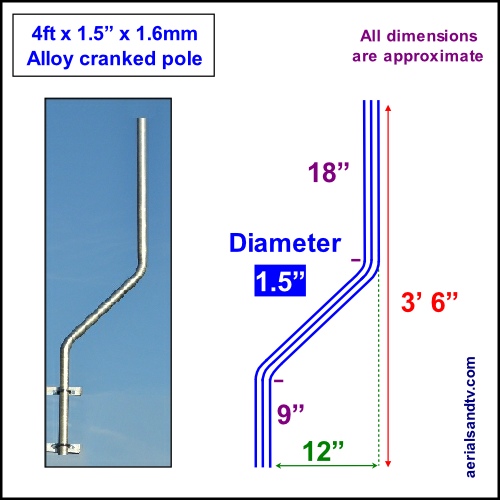
CS/CC Starlink chimney install kit with a 4ft cranked pole or straight pole

The kit comprises :
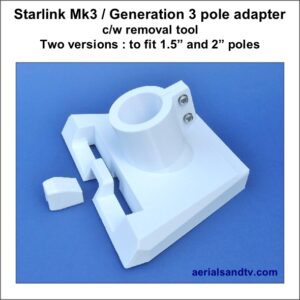
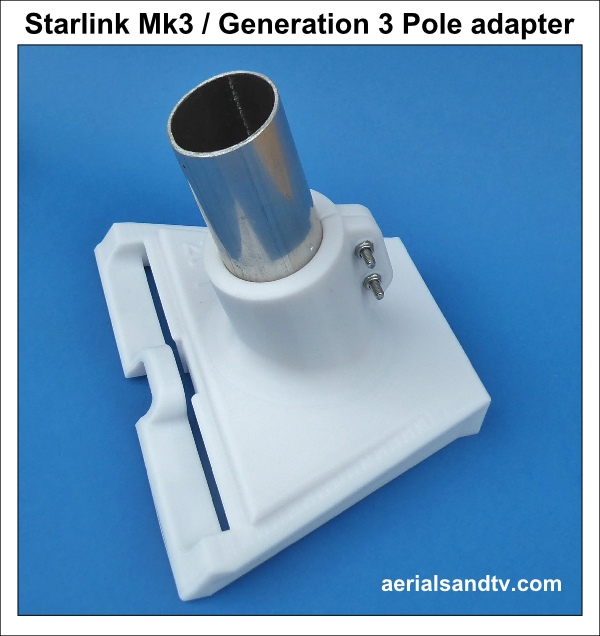
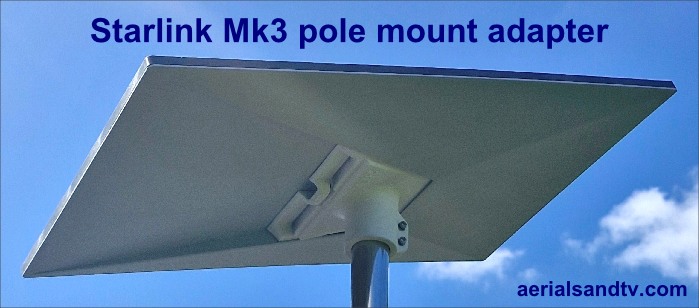
– (optional – for Mk3 Starlink) 1.5″ pole adapter.
The adapter can be bough separately here.
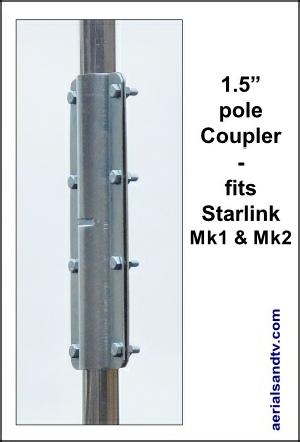
– (optional – for Mk1 or Mk2 Starlink) 1.5″ pole coupler.
The pole coupler can be bought separately here.
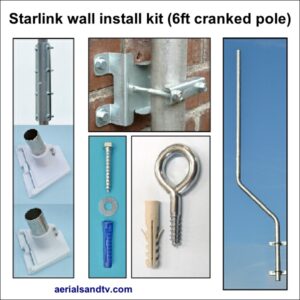
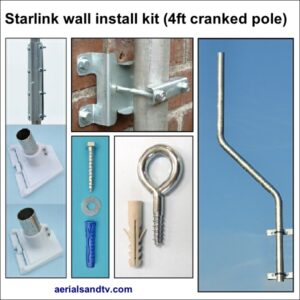
– Extra heavy duty pole for maximum strength and minimum movement of the Starlink dish :
4ft x 1.5 inch x 1.6mm (16G) cranked pole, in non rusting alloy.
or
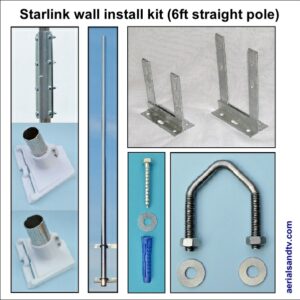
3ft 10″ x 1.5 inch x 1.6mm (16G) straight pole, in non rusting alloy.
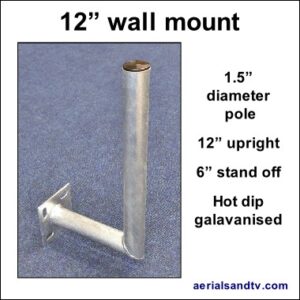
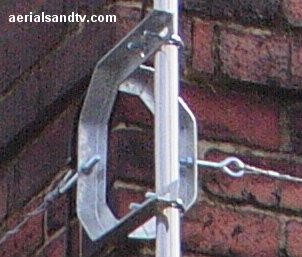
– Heavy duty hot dip galvanised 8″ Mitre chimney bracket (finish may vary).
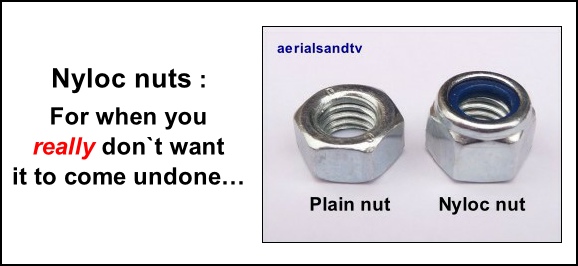
– Lashing kit, with 5m pre-terminated galvanised lash wire, three corner pieces, J bolt and O bolt (zinc plated) and 1.5″ V bolts (the latter in stainless steel with Nyloc nuts). How to install a lash kit.
– 1m of self amalgamating tape (only supplied with the coupler).
– Box of 100 black 7mm clips
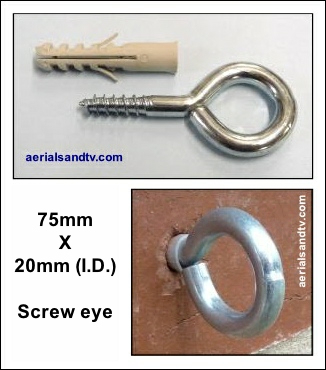
– Screw eye (see safe use of a ladder)
NOTE : When installing an aerial or a satellite dish on pole you would almost always install the item on the pole then install the pole on the bracket, unless the top of the pole was very easily accessible (which it isn’t usually).
Customers’ Starlink install reports.
Note the pole can be used either way up !
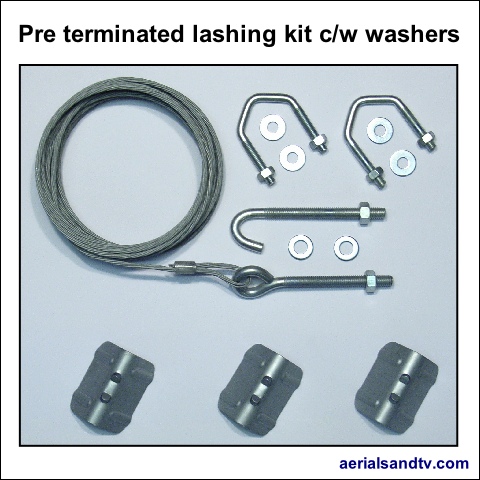
The V bolts (c/w washers and Nyloc nuts) are stainless steel, the J bolt and O bolt are zinc plated.
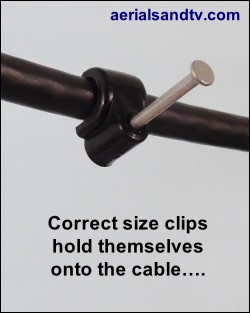 So you don’t have to hold the clip on the cable and risk Derrick the Decider (the II) hitting your fingers.